

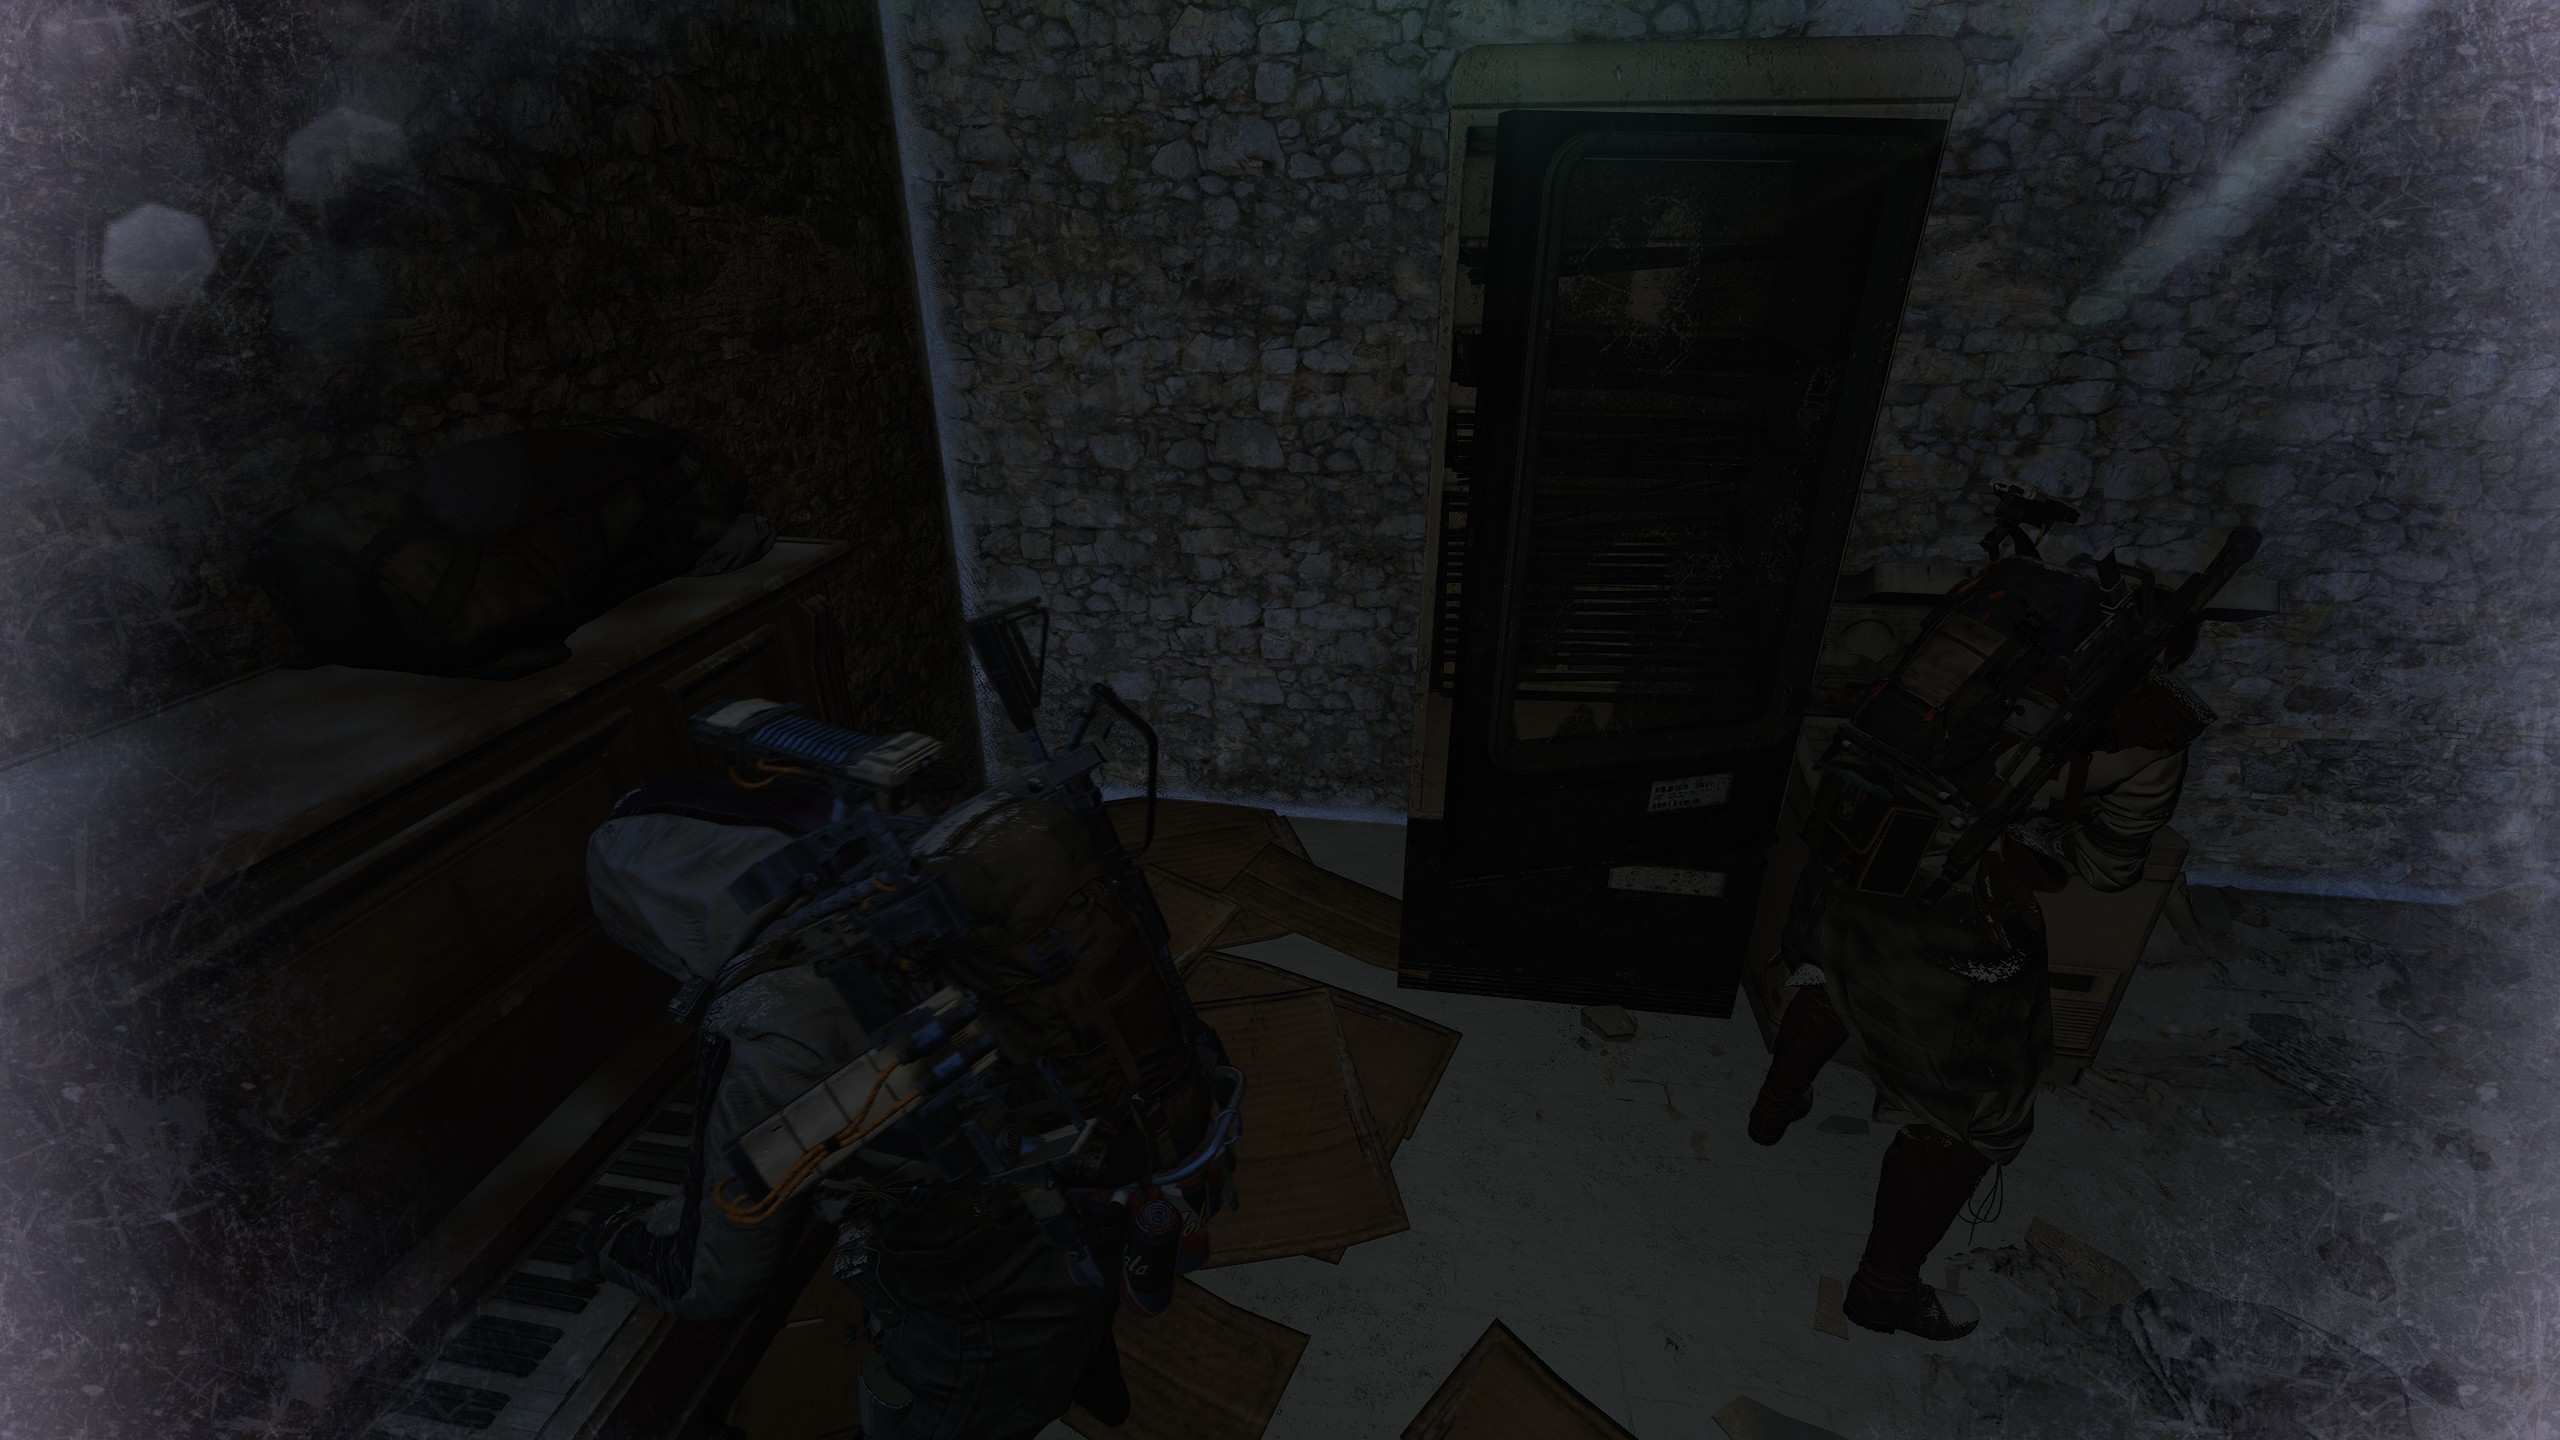
Mastering “Third Party Control” in Arc Raiders is a distinct strategic progression path, elevating opportunistic intervention into a calculated tactical art form. It emphasizes patience, superior positioning, and decisive timing to secure victory in engagements you did not initiate. For players aiming to maximize their kill-to-risk ratio, consistently acquire loot from other players, and dominate chaotic multi-team fights, developing a disciplined approach to third-partying forms a reliable and repeatable framework for success in the Exclusion Zone.
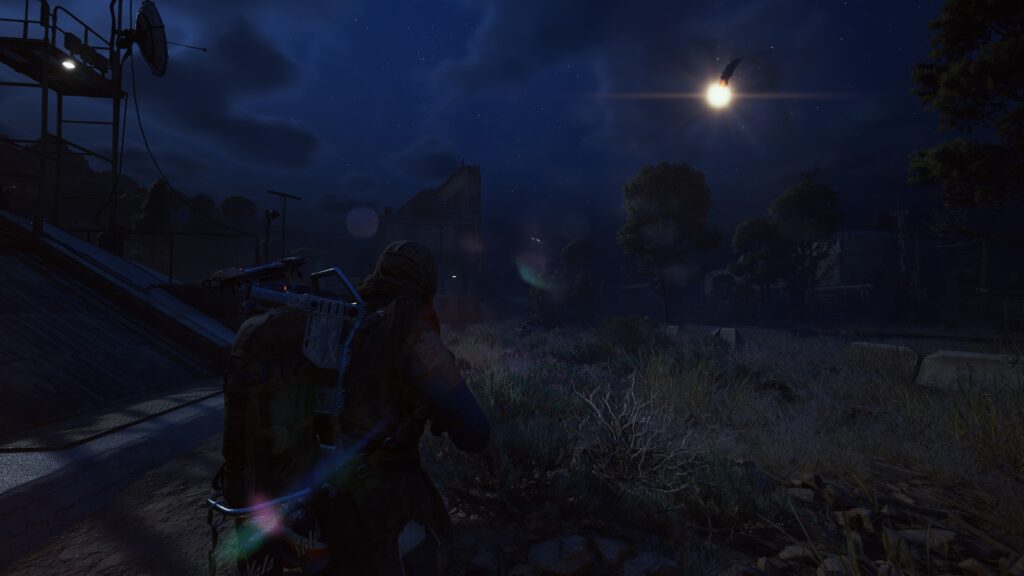
This guide examines how to approach third-partying efficiently, focusing on identifying opportunities, securing power positions, timing your attack perfectly, and executing a clean engagement that ensures you win the fights that other teams have already started for you.
The Philosophy of Third Party Control
Third-partying is often seen as simply showing up late to a fight. True Third Party Control, however, is a proactive strategy. It’s not about stumbling into a fight; it’s about identifying an ongoing conflict, observing it from a position of power, and intervening at the most opportune moment. The goal is to engage two or more opponents who are already weakened, distracted, and low on resources. It is a deterministic skill that rewards discipline and tactical patience over impulsive aggression.
The structure of this strategy encourages efficiency through observation and precise timing. Mastery is achieved by minimizing direct exposure, maximizing the impact of your initial strike, and executing a swift cleanup, turning a chaotic firefight into a predictable and highly profitable victory for you.
Identifying and Assessing Third Party Opportunities
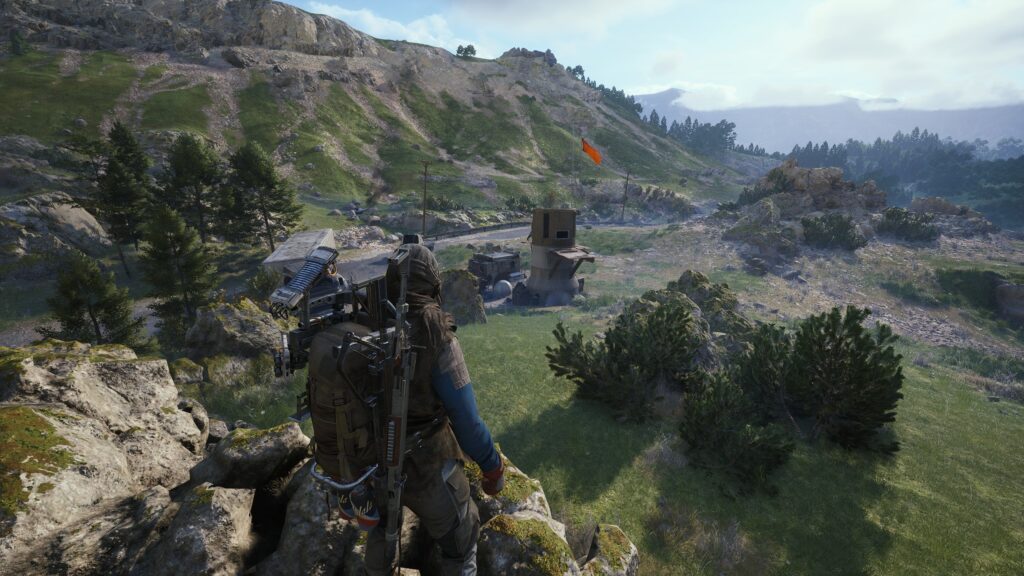
The first step is recognizing a prime opportunity. This requires keen awareness and a good understanding of the game’s soundscape.
- Sustained Gunfire: Listen for prolonged exchanges of fire, especially with multiple distinct weapon sounds. A short burst might be a player killing AI, but a sustained fight is almost always player-versus-player.
- Explosions and Utility Use: The sound of grenades, tactical abilities, or other explosives is a strong indicator of a serious engagement.
- Visual Confirmation: From a safe distance, look for tracers, muzzle flashes, or players moving between cover. This confirms the location and scale of the fight.
- Proximity and Accessibility: Is the fight close enough for you to reach without exposing yourself? Is there a safe approach route? A good opportunity is one you can capitalize on safely.
- Purpose: To identify high-probability player conflicts and assess whether you can intervene without taking unnecessary risks.
Strategic Positioning: The Key to Control
Once you’ve identified an opportunity, your next move is the most critical: do not rush in. Instead, secure a superior position from which to observe and control the engagement.
- Find a Power Position: This is a location with good cover and a clear line of sight on the ongoing fight. High ground is often ideal, as is a flanking position that overlooks the primary engagement area.
- Observe Both Sides: From your power position, try to identify all parties involved. Understand their positions, their numbers, and the general flow of the battle. Who is winning? Who is exposed?
- Stay Concealed: Your greatest advantage is that the other teams do not know you are there. Maintain stealth. Avoid making noise or peeking unnecessarily.
- Plan Your Attack: While observing, plan your initial strike. Who is the highest-priority target? Where will you move after your initial shots?
- Purpose: To gain a decisive tactical and informational advantage before firing a single shot, ensuring your intervention is on your terms.
The Art of Timing: Striking at Peak Vulnerability
Your timing determines the success of your third-party attack. Striking too early means fighting two healthy teams. Striking too late might mean the fight is over and the winners have reset.
- Wait for the Down: The best moment to strike is often immediately after one player is knocked down or eliminated. The winning team will be distracted, either pushing their advantage or attempting to revive a teammate.
- The Healing Lull: Another prime opportunity is during a lull in the fighting when players are likely behind cover, healing, or reloading. They are at their most vulnerable during these animations.
- The Looting Phase: The moment the fight ends and the victors begin to loot is a golden opportunity. They are stationary, often in menus, and have a false sense of security.
- Initiate with Impact: Begin your attack with a high-impact action, such as a grenade, a sniper headshot on a key target, or a coordinated team push.
- Purpose: To engage the enemy when their attention, health, and resources are at their absolute lowest, guaranteeing a swift and successful cleanup.
Execution and Rapid Reset
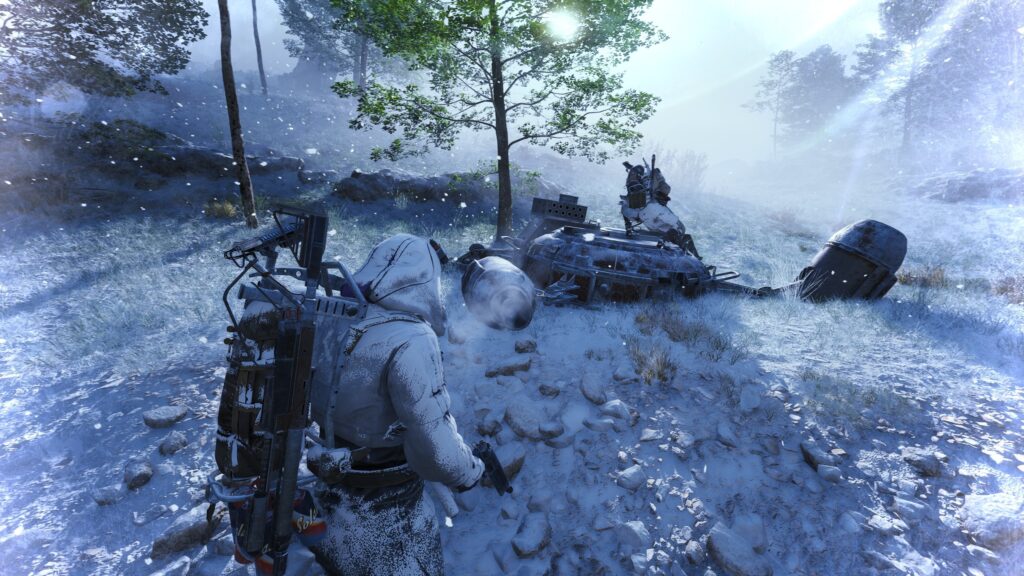
Once you commit, the engagement must be fast and decisive. Lingering after a third-party risks you becoming the victim of a fourth party.
- Focus Fire: Eliminate one target at a time. Do not spread your damage.
- Push the Advantage: Once you have the upper hand, push aggressively to prevent any remaining enemies from resetting.
- Quick Reset: After winning, do not immediately loot. Your first priority is to heal, reload, and reposition to a new piece of cover.
- Loot and Scoot: Grab the most valuable items quickly and then leave the area. The sounds of your prolonged fight have likely attracted more attention.
- Purpose: To efficiently conclude the engagement and secure your profit before another opportunistic team arrives to do to you what you just did to others.
Conclusion: Turning Chaos into Certain Victory
Mastering Third Party Control in Arc Raiders rewards patience, superior positioning, and decisive timing. By transforming the act of intervention from a random chance into a calculated strategy, players can consistently turn chaotic multi-team fights into highly profitable opportunities.
When integrated into your gameplay, this disciplined approach becomes less of a cheap tactic and more of a hallmark of a skilled tactician. It allows you to conserve resources, minimize your own risk, and decisively win engagements that you did not have to start, establishing you as a formidable and intelligent predator in the Exclusion Zone.
Leave a Reply